Eli’s little fiddle
Edges Final dirt.
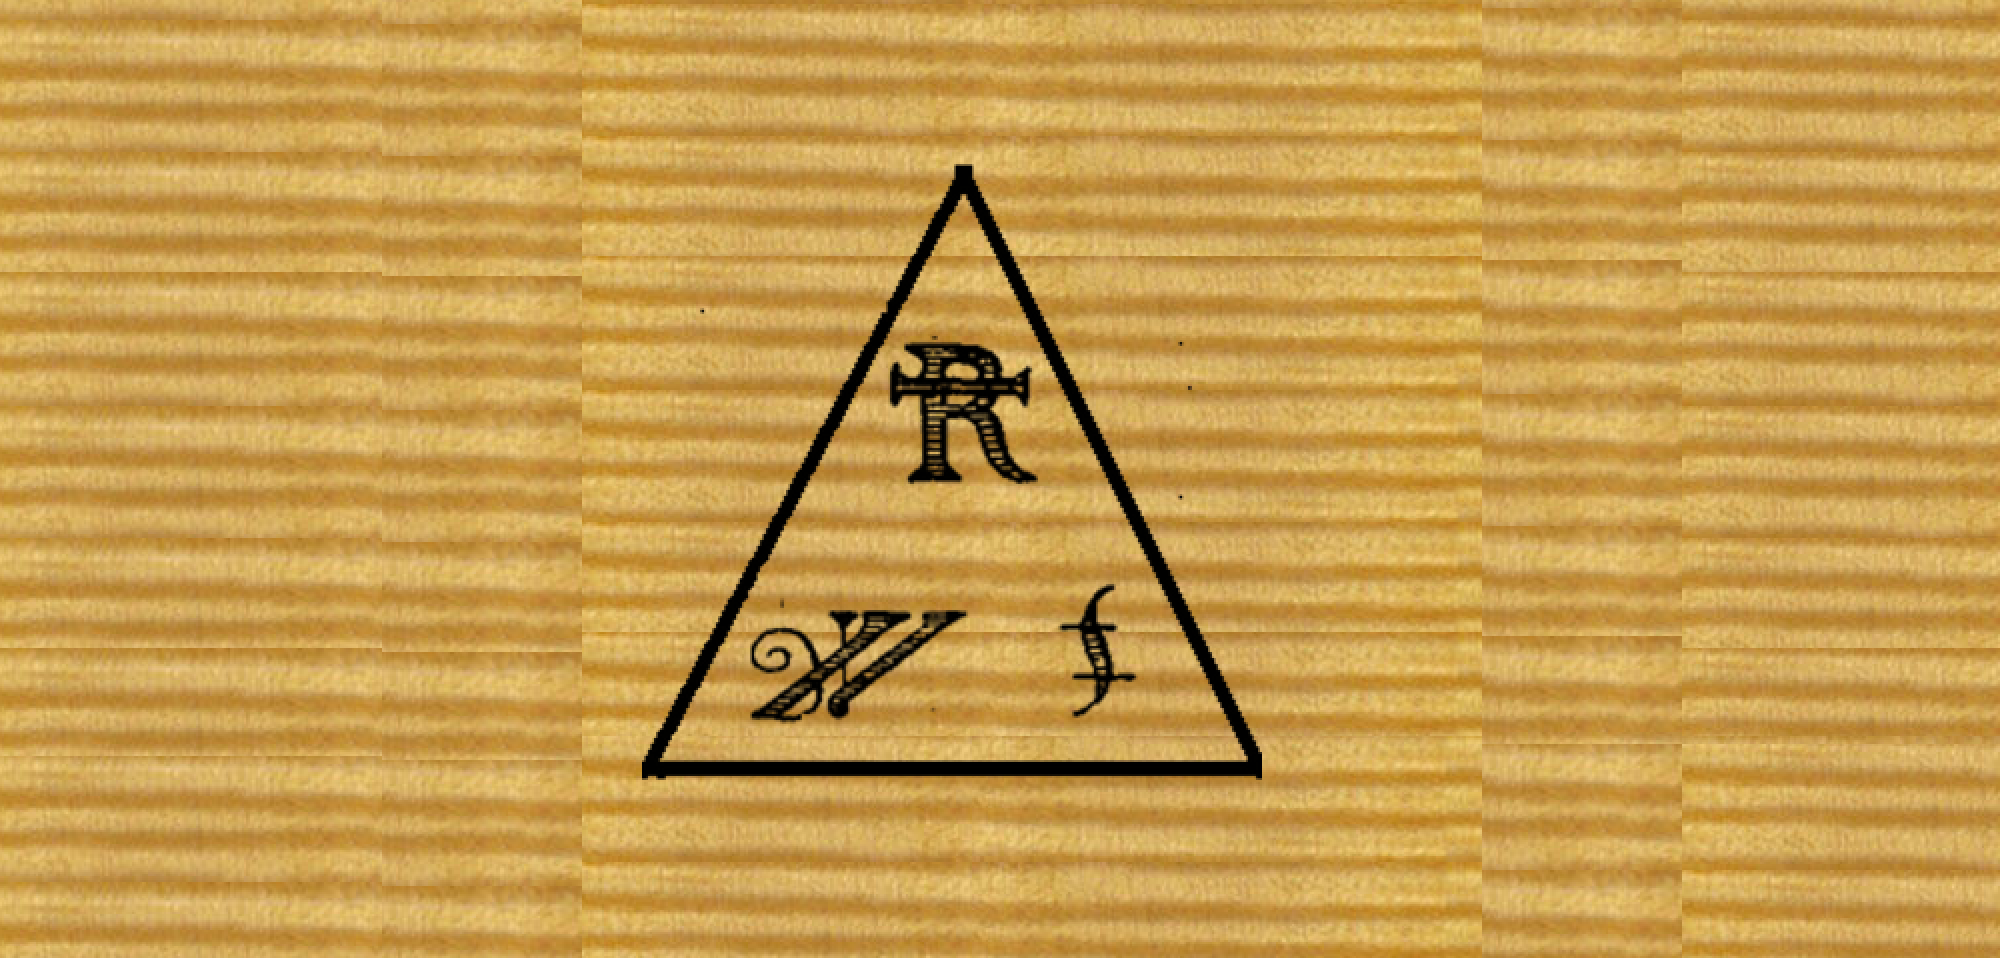
Aged Wood Gold in a bold application for the Varnish Workshop. Sun or UV fades it to the “right” color.
Chicago Violin Varnish Workshop 2017
Practical & Artistic Violin Varnishing: 2017 Skokie Ill- April 22nd – 29th
“Practical & Artistic Violin Varnishing”
2017
Welcome to the workshop.
We thank you for your interest in the 2017 Violin Varnish workshop. This week long course is designed to advance and refine each participant’s varnish technique and build upon each individual’s artistic vision. Our focus is on application and sight training: ground coating, wood color, varnish layering, mixing color and a variety of application and polishing techniques will be addressed. We will explore the history and evolution of violin varnish. Through good information and informed choices, varnishing a violin is a simple and straightforward and fun process. Each of us has extensive experience in varnishing and teaching and we are committed to making this part of violin making successful and enjoyable for you.
Staff: Joe Robson, Marilyn Wallin, and Todd Goldenberg
What we do: The workshop group of 3 staff and up to 18 participants, each with a different kind and level of experience, quickly develops a “crew” atmosphere. Our focus is to understand the materials and how they work together through application. Our scope is comprehensive. There are many “proper” ways to varnish a violin. The workshop curriculum will include basic techniques which apply to any varnish: ground applications, choosing and mixing color, managing texture, polishing etc. We will demonstrate [with your participation] complete and shaded varnishes [Joe and Todd] and the methods to create an antiqued finish [Marilyn]. In addition to our full time staff we will have “visitors”. Chicago is a hub of both contemporary violin making and shops which offer antique instruments. We anticipate visits from both [and they bring some nice “eye-candy”!].
Where we will meet: We will meet this year at the Chicago School of Violin Making. CSVM, founded by Tschu Ho Lee, is in Skokie, Illinois, just outside Chicago. CSVM is a full time teaching program and we will have full use of their facility for a week of their break between semesters. The room has good light, excellent bench facilities, and good ventilation. Chicago is an exciting center for the violin trade with various shops and makers in the immediate area.
What to bring: Each participant [and each staff member] will bring 2 instruments [violin or viola]. One instrument in the white, prepared for ground. One instrument with a ground applied, prepared for varnishing. You may also bring a third instrument which is already varnished. This would allow you to follow the antiquing process as you work with Marilyn on methods of antiquing. The sessions on antiquing are open to everyone, even if you are not antiquing an instrument along with Marilyn.
Each participant will have bench space and an individual drying box. Basic bench set up i.e. violin stand and cradle, varnish mixing tools, good lighting, shop supplies [cloths, solvents, gloves etc.] are all provided. You are encouraged to bring any varnishing materials which you would like to use or experiment with.
Materials Kit: The workshop is a time for experimentation. If you have specific materials you would like to try, please bring them. The workshop materials kit [see attached document] is a comprehensive set of products and brushes which will allow you to experiment and varnish a number of instruments. It is provided at about 50% of retail value to encourage your experiments.
Accommodations: Arrangements have been made with the Extended Stay America Hotel in Skokie. This facility offers large rooms with kitchen facilities in each room. The hotel is about 3 miles from the school. We will have transportation available between the school and the hotel. There are many restaurants and grocery stores within walking distance of the hotel.
Schedule: April 22nd – 29th. We will begin on Saturday afternoon of April 22nd. After 1 pm. you can join us there, set up your bench, and get acquainted. Our initial formal meeting will be at 4:00 that afternoon. The workshop will close at noon on the 29th. For those of you flying in or unfamiliar with the area, we can provide information about locations and travel arrangements.
The formal daily schedule will begin at 9 am. and end at 5:30 pm with a lunch break. The workshop will open about 8 am. Normal shop closing will some time after 6 pm depending on how our day’s work is coming to a close.
Cost and payment: The workshop fee is $1550 [$1565 if you wish to use Visa or MasterCard]. This covers both Tuition and the Materials Kit. Payment by check will be made to: Violin Varnish Ltd. Mailing address:Violin Varnish Ltd., 14 Prospect Street, Trumansburg, NY 14886.
Registration: To register please fill out and return [by email or mail] the attached registration form. Send a registration check for $250 [payable to Violin Varnish Ltd.]. Registration checks will not be deposited until after the 1st of January 2017. Upon receiving your registration form and down payment you will be sent a confirmation email which will reserve your bench space. Payment in full for the workshop fee will be due on or before March 1, 2017. Post-registration withdrawal with the return of your fee will be possible only as long as we are able to fill your place with another participant.
Contact: If you have questions or concerns please feel free to email me at joewrobson@gmail.com or call 607 387 9280 during business hours Eastern time.
Following are files detailing the workshop:
Balsam Ground Application Instructions
Violin Varnish Ltd.
![]()
![]()
“Ancient Alchemical Formula for Varnish”
Applying the Balsam Ground – Basic instructions
Alcohol Steps
- Prepare the wood for varnishing, including raising the grain if desired.
- Apply denatured alcohol or Everclear to the spruce.
- Apply Balsam Preparation #1 to the entire instrument. Repeat if desired.
- Mix Balsam Preparation #2 with alcohol: 1 part Balsam #2 : 3 parts alcohol.
- Apply diluted #2 to the entire instrument. Repeat if desired.
- Mix a portion of the diluted#2 with Aged Wood Gold.
- Apply to the entire instrument. [Note: Aged Wood Gold has a garish yellow/green tint when applied. Hand the instrument in the sun or in a UV box and the garish color will quickly fade to the “correct” wood color. In direct sun this process takes about 1 ½ hours.] Repeat if desired.
- Apply Aged Wood Red Brown and/or Aged Wood Gray Green undiluted if desired.
- Apply diluted #2 to entire instrument:.
- Allow alcohol to completely evaporate.
Turpentine Steps:
- Mix Balsam Preparation #3 with Turpentine: 1 part Balsam #3 : 3 parts turpentine.
- Apply to entire instrument. Repeat if desired.
- 13. Apply Aged Wood Color Dark Brown undiluted if desired.
- Mix Balsam Preparation #4 with Turpentine: 1 part Balsam #4 : 3 parts turpentine.
- Apply to entire instrument. Repeat if desired.
- Using cheesecloth very slightly dampened with turpentine clean any shiny surface build up. All materials should be in the wood not on the wood.
- Mix Balsam Ground Varnish with Turpentine: 1 part Balsam Ground Varnish : 3 parts turpentine.
- Apply a thin coat to entire instrument. Do not put the instrument or the brush down. Watch the instrument. In a few moments you will see the varnish begin to look dull. Take you brush [without any more varnish] and dry brush the entire instrument to insure penetration.
- Repeat application of diluted Balsam Ground Varnish if desired.
Note: Use only Diamond G Turpentine
Link: http://www.diamondgforestproducts.com/
Varnish System Overview
Violin Varnish Ltd.
Varnish System Overview
Aged Wood Colors: Red Brown, Gold, & Gray/Green
Whether the instrument being varnished is to be an antique finish, shaded, or fully varnished, most makers want a colored wood background for their varnishing. The color of the wood under the varnish in classic Italian instruments is largely the result of wood aging under the varnish. As the wood ages it exhibits three color changes: Red Brown, Gold, and Gray/Green. As the spruce is exposed to ultra-violet light the resinous materials harden and exhibit a red brown color. The same is true of the sugars in the maple. Tannic acid in both wood species is released and adds to this coloration. Hemi-cellulose is photo-chemically reactive to the blue-purple spectrum of visible light. This reaction results in a gold color. As this gold color decomposes it produces and gray/green tone. The gray/green is enhanced in heavily worn areas as a result of exposure to humidity and the abuse of the worn surfaces. The Aged Wood Colors are alcohol soluble vegetable extractions which are enhanced by the addition of a mild [pine bark based] mordant which fixes the color in the wood. These colors can be used independently or with the Balsam Ground System. Using the Aged Wood Colors the maker has complete control of the color of the wood under the varnish.
Balsam Ground System: Four Balsam Extracts & Balsam Ground Varnish
The finest classical instruments are set apart by the quality of their ground. This material is an excellent sealing and protective application which allows highly colored varnish to be applied without staining the wood underneath it. This ground has a remarkably deep sparkle which comes from light being reflected within the wood structure and then through the varnish. The Balsam Ground System reproduces all of these qualities. The ground is made from the raw sap as it is harvested from the pine, spruce, and hemlock trees. In the wood, this material will harden with age naturally. However in order to make the process dry in a predictable and controllable way the raw resin is fractured into its components [much as raw petroleum is “cracked” into its various components]. When these components are applied one on top of the other they act to dry one another in a way that mimics the ageing process of these resinous materials in the wood. The first two balsams enhance the colors and contrasts natural to the wood and open the cell structure to receive the remaining balsam extracts. The third and fourth balsam extracts produce the deep, three dimensional reflectivity of the classic Cremonese ground. The final step is the application of the Balsam Ground Varnish which is made from the same raw balsams cooked with a small amount of linseed oil to produce a very tough varnish which does not build thickness as it is applied. It is also the final drier for the whole system.
Varnish & Color: Translucent Color
Classic Cremonese varnish, as it proceeds from Amati, is a combination of linseed oil, resin, and turpentine. This highly colored translucent film allows all the reflectivity and detail of the wood and ground to show through the varnish. To color the varnish in this way the color is created as a lake, which, rather than being a floating particle [which limits transparency], is attached to the linseed oil molecule producing a highly colored, yet translucent varnish. Using alizarin as a color source a spectrum of highly charged, individually colored varnishes are created [Alizarin Orange, Scarlet, Purple, and Dark Rose]. These can be mixed into a clear varnish for color which is created by the varnisher. When this method is applied to madder root as the source of colorant, combined with Greek Pitch a series of highly colored, yet complex colors are created [Marrone, Arrancione, Rose, and Gold]. The Greek Pitch Varnishes are reproductions in materials and cooking methods of the original Cremonese varnish. Pigments may be added to these varnishes to steer or intensify the color. Only a small amount of pigment is necessary. This preserves the translucent nature of the varnish.
Violin Varnish Workshops 2013
Violin Varnish Workshops 2013
“Practical and Aesthetic Violin Varnishing”

Understanding the materials: Ground, Color, and Varnish
and how to use them to create your varnish.
Workshop conducted by:
Joe Robson
Marilyn Wallin
Roman Barnas
The workshop will focus on application.
Understanding the components and interaction of Ground, Color, and Varnish will be addressed as we varnish.
Particpants must bring an instrument [violin or viola] ready for varnishing.
Each of the directors will varnish a violin during the workshop.
Matching the maker’s vision of the finished instrument to the correct materials and application techniques allows varnishing to be an intentional and controlled part of violinmaking.
April 14th – 20th
Request more information
Eric Meyer, Maker of Fine Fittings
Eric Meyer, Maker of Fine Fittings

Maker of Fine Fittings
for Stringed Instruments
6837 N.E. Alameda Drive
Portland, OR 97213
(503) 249-1864
FineTuning@aol.com


Eric at work!
I produce fittings, by hand, in my shop. Just as you would expect with a handcrafted violin of high quality, the work is slower, more individual and more expensive than with production fittings. Most of my customers are excellent violin makers who appreciate the unmistakable look of hand craft. They are willing to pay more, and wait longer for this extra quality of work to accent their own creation. They are also able to custom order in terms of dimensions, combination of material, and style, to better suite the individual instruments for which they are intended. I can often duplicate a preferred peg or tailpiece, modern or baroque, that cannot be found commercially. Several styles of tailpieces are available. The ability to order the exact length in a tailpiece, especially in viola sizes can greatly enhance the sound quality in an instrument.

 I make several models of pegs and am constantly adding models as time and interest dictate. Some of these are styles of baroque pegs. The collars and pips of contrasting wood or other natural materials are glued on as blanks and returned on the pegs. I have mastodon ivory, available on request, for this purpose, but most often use African blackwood as an accent material. The heart-shaped, or “Hill” style pegs are the most popular. I also make copies of the classic Mirecourt pegs with concave faces and elegant simplicity. Another style is the peg attributed to Antonio Stradivari and pictured in the Hill book on the master.

All of these pegs are available in violin, viola and cello, with shaft sizes for new or replacement pegs when the peg holes have not been bushed. I have specialized in mountain mahogany and African blackwood as alternatives to boxwood and ebony, respectively, but can use any wood you wish, including rosewood or snakewood. Mountain mahogany is a wonderful material that is harder than boxwood. It occurs naturally in a nut brown color that can be darkened with ammonia fuming to the color of old Hill boxwood fittings without using nitric acid. African blackwood is a dense wood in the rosewood family that has the resinous quality of rosewood, the blackness of ebony with a higher luster when polished. The best clarinets are turned from blackwood.

I find there is no substitute for individual communication in ordering. This may be inconvenient for some, but my customers are looking for quality and specific details that commercial supply houses cannot provide. Finely crafted instruments deserve fittings of like quality.


I am presently making fittings in Mountain Mahogany, (circocarpus ledifolus), African Blackwood, Ebony, Rosewood, Snakewood and Pernambuco. I will use other woods on request. If you have a peg shape you like that you cannot presently find, I will copy it for a one time template fee and price per set we agree upon. Keep in touch as I am constantly adding new styles and items to this list. Allow 2 months for orders. Custom tailpiece lengths and shapes are no problem–for you, that is.
tel. 503 249-1864
Copyright © Eric Meyer, 2002 – 2008, All Rights Reserved