Balsam Ground Application Instructions


Violin Varnish Ltd.


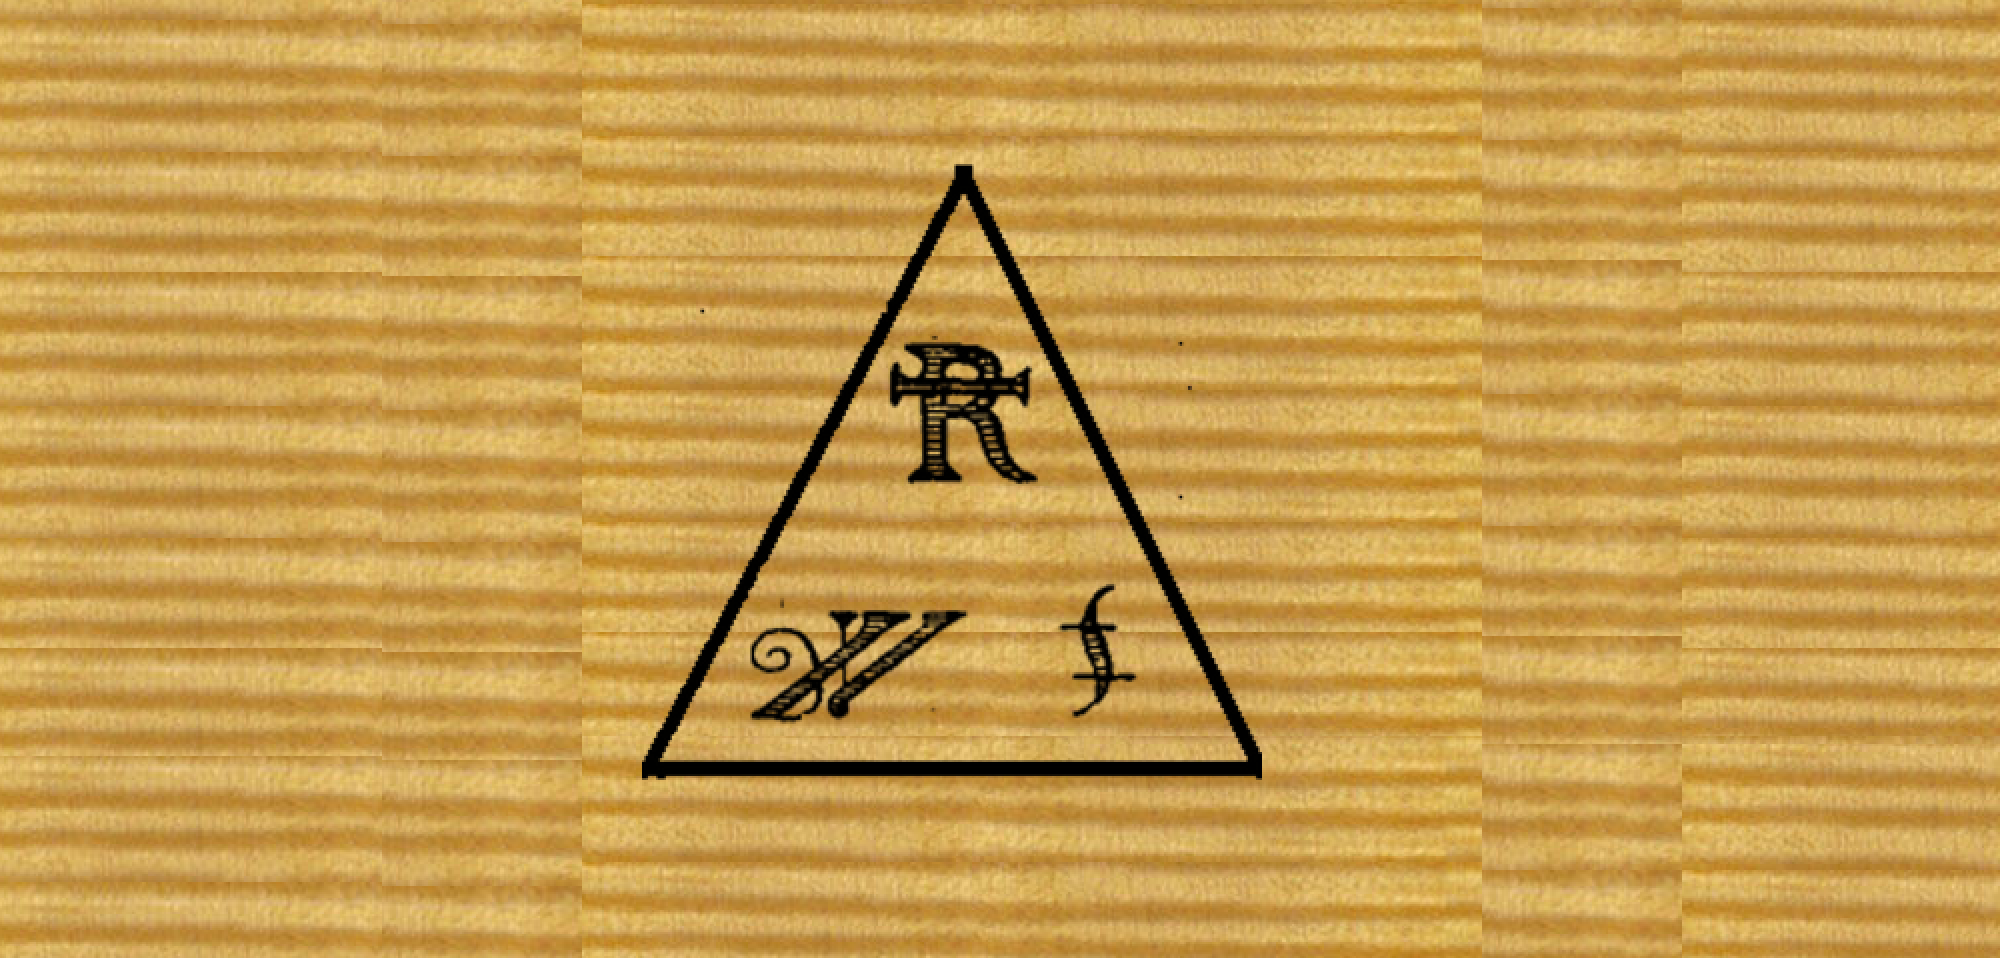
“Ancient Alchemical Formula for Varnish”

Applying the Balsam Ground – Basic instructions

Alcohol Steps

  1. Prepare the wood for varnishing, including raising the grain if desired.
  2. Apply denatured alcohol or Everclear to the spruce.
  3. Apply Balsam Preparation #1 to the entire instrument.  Repeat if desired.
  4. Mix Balsam Preparation #2 with  alcohol:  1 part Balsam #2 : 3 parts alcohol.
  5. Apply diluted #2 to the entire instrument.  Repeat if desired.
  6. Mix a portion of the diluted#2 with Aged Wood Gold.
  7. Apply to the entire instrument.  [Note: Aged Wood Gold has a garish yellow/green tint when applied.  Hand the instrument in the sun or in a UV box and the garish color will quickly fade to the “correct” wood color.  In direct sun this process takes about 1 ½ hours.]  Repeat if desired.
  8. Apply Aged Wood Red Brown and/or Aged Wood Gray Green undiluted if desired.
  9. Apply diluted #2 to entire instrument:.
  10. Allow alcohol to completely evaporate.

Turpentine Steps:

  1. Mix Balsam Preparation #3 with Turpentine: 1 part Balsam #3 : 3 parts turpentine.
  2. Apply to entire instrument.  Repeat if desired.
  3. 13.  Apply Aged Wood Color Dark Brown undiluted if desired.
  4. Mix Balsam Preparation #4 with Turpentine: 1 part Balsam #4 : 3 parts turpentine.
  5. Apply to entire instrument.  Repeat if desired.
  6. Using cheesecloth very slightly dampened with turpentine clean any shiny surface build up.  All materials should be in the wood not on the wood.
  7. Mix Balsam Ground Varnish with Turpentine: 1 part Balsam Ground Varnish : 3 parts turpentine.
  8. Apply a thin coat to entire instrument.  Do not put the instrument or the brush down.  Watch the instrument.  In a few moments you will see the varnish begin to look dull.  Take you brush [without any more varnish] and dry brush the entire instrument to insure penetration.
  9. Repeat application of diluted Balsam Ground Varnish if desired.

Note:  Use only Diamond G Turpentine

Link: http://www.diamondgforestproducts.com/


Varnish System Overview

Violin Varnish Ltd.

Varnish System Overview


Aged Wood Colors: Red Brown, Gold, & Gray/Green

Whether the instrument being varnished is to be an antique finish, shaded, or fully varnished, most makers want a colored wood background for their varnishing. The color of the wood under the varnish in classic Italian instruments is largely the result of wood aging under the varnish. As the wood ages it exhibits three color changes: Red Brown, Gold, and Gray/Green. As the spruce is exposed to ultra-violet light the resinous materials harden and exhibit a red brown color. The same is true of the sugars in the maple. Tannic acid in both wood species is released and adds to this coloration. Hemi-cellulose is photo-chemically reactive to the blue-purple spectrum of visible light. This reaction results in a gold color. As this gold color decomposes it produces and gray/green tone. The gray/green is enhanced in heavily worn areas as a result of exposure to humidity and the abuse of the worn surfaces. The Aged Wood Colors are alcohol soluble vegetable extractions which are enhanced by the addition of a mild [pine bark based] mordant which fixes the color in the wood. These colors can be used independently or with the Balsam Ground System. Using the Aged Wood Colors the maker has complete control of the color of the wood under the varnish.

Balsam Ground System: Four Balsam Extracts & Balsam Ground Varnish

The finest classical instruments are set apart by the quality of their ground. This material is an excellent sealing and protective application which allows highly colored varnish to be applied without staining the wood underneath it. This ground has a remarkably deep sparkle which comes from light being reflected within the wood structure and then through the varnish. The Balsam Ground System reproduces all of these qualities. The ground is made from the raw sap as it is harvested from the pine, spruce, and hemlock trees. In the wood, this material will harden with age naturally. However in order to make the process dry in a predictable and controllable way the raw resin is fractured into its components [much as raw petroleum is “cracked” into its various components]. When these components are applied one on top of the other they act to dry one another in a way that mimics the ageing process of these resinous materials in the wood. The first two balsams enhance the colors and contrasts natural to the wood and open the cell structure to receive the remaining balsam extracts. The third and fourth balsam extracts produce the deep, three dimensional reflectivity of the classic Cremonese ground. The final step is the application of the Balsam Ground Varnish which is made from the same raw balsams cooked with a small amount of linseed oil to produce a very tough varnish which does not build thickness as it is applied. It is also the final drier for the whole system.

Varnish & Color: Translucent Color

Classic Cremonese varnish, as it proceeds from Amati, is a combination of linseed oil, resin, and turpentine. This highly colored translucent film allows all the reflectivity and detail of the wood and ground to show through the varnish. To color the varnish in this way the color is created as a lake, which, rather than being a floating particle [which limits transparency], is attached to the linseed oil molecule producing a highly colored, yet translucent varnish. Using alizarin as a color source a spectrum of highly charged, individually colored varnishes are created [Alizarin Orange, Scarlet, Purple, and Dark Rose]. These can be mixed into a clear varnish for color which is created by the varnisher. When this method is applied to madder root as the source of colorant, combined with Greek Pitch a series of highly colored, yet complex colors are created [Marrone, Arrancione, Rose, and Gold]. The Greek Pitch Varnishes are reproductions in materials and cooking methods of the original Cremonese varnish. Pigments may be added to these varnishes to steer or intensify the color. Only a small amount of pigment is necessary. This preserves the translucent nature of the varnish.


Home
Site Map

Eric Meyer, Maker of Fine Fittings

Eric Meyer, Maker of Fine Fittings


Maker of Fine Fittings
for Stringed Instruments


6837 N.E. Alameda Drive
Portland, OR 97213
(503) 249-1864
FineTuning@aol.com

Eric at work!

I produce fittings, by hand, in my shop. Just as you would expect with a handcrafted violin of high quality, the work is slower, more individual and more expensive than with production fittings. Most of my customers are excellent violin makers who appreciate the unmistakable look of hand craft. They are willing to pay more, and wait longer for this extra quality of work to accent their own creation. They are also able to custom order in terms of dimensions, combination of material, and style, to better suite the individual instruments for which they are intended. I can often duplicate a preferred peg or tailpiece, modern or baroque, that cannot be found commercially. Several styles of tailpieces are available. The ability to order the exact length in a tailpiece, especially in viola sizes can greatly enhance the sound quality in an instrument.

I make several models of pegs and am constantly adding models as time and interest dictate. Some of these are styles of baroque pegs. The collars and pips of contrasting wood or other natural materials are glued on as blanks and returned on the pegs. I have mastodon ivory, available on request, for this purpose, but most often use African blackwood as an accent material. The heart-shaped, or “Hill” style pegs are the most popular. I also make copies of the classic Mirecourt pegs with concave faces and elegant simplicity. Another style is the peg attributed to Antonio Stradivari and pictured in the Hill book on the master.

All of these pegs are available in violin, viola and cello, with shaft sizes for new or replacement pegs when the peg holes have not been bushed. I have specialized in mountain mahogany and African blackwood as alternatives to boxwood and ebony, respectively, but can use any wood you wish, including rosewood or snakewood. Mountain mahogany is a wonderful material that is harder than boxwood. It occurs naturally in a nut brown color that can be darkened with ammonia fuming to the color of old Hill boxwood fittings without using nitric acid. African blackwood is a dense wood in the rosewood family that has the resinous quality of rosewood, the blackness of ebony with a higher luster when polished. The best clarinets are turned from blackwood.

I find there is no substitute for individual communication in ordering. This may be inconvenient for some, but my customers are looking for quality and specific details that commercial supply houses cannot provide. Finely crafted instruments deserve fittings of like quality.


I am presently making fittings in Mountain Mahogany, (circocarpus ledifolus), African Blackwood, Ebony, Rosewood, Snakewood and Pernambuco. I will use other woods on request. If you have a peg shape you like that you cannot presently find, I will copy it for a one time template fee and price per set we agree upon. Keep in touch as I am constantly adding new styles and items to this list. Allow 2 months for orders. Custom tailpiece lengths and shapes are no problem–for you, that is.
tel. 503 249-1864


Copyright © Eric Meyer, 2002 – 2008, All Rights Reserved


How to make varnish

Violin Varnish Ltd.


How to make varnish


“Schedula Diversarum Artium”
of Theophilus Presbyter
Circa 1200 AD


Pone oleum in novam parvulam et adde gummi quod vocatur fornis, minutissime tritum, quod habet speciem lucidissimi thuris, sed cum frangitur fulgorem clariorem reddit; quod cum super carbones coque diligenter sic ut non bulliat, donec tertia pars consumatur; et cave a flamina, quod periculosum est nimis, et difficile extingguitur si accendatur. Hoc glutine omnis picture super linita fit decorra acomnino durabilis. Compone quatuor vel tres lapides qui possent ignem sustinere ita ut resilient et wuper ipsos pone ollam rudem, et in eam mitte supradictum gummi fortis, quod Romana glassa vocatur, et super os hujus ollae pone ollam minorem, quae habeat in fundo modicum formen. Et circumlineas ei pastam, ita ut nihil spiraminis inter ipsos ollas exeat. Habebis etiam ferrum gracile manubrio impositum, unde commovebis ipsum gummi, et cum quo sentire possis ut omnino liquidum fiat. Habebis quoque ollam teriam super carbones positam, in qua sit oleum calidum, et cum gummi pentus liquidum fuerit, ita ut extreme ferro quasi filum trahitur, infunde ei oleum calidum, et ferro commove, et insimul coque ut non bulliat, et interdum extrahe ferrum et lini modice super lignum sive super lapidem, ut probes diversitatem ejus; et hoc caveas in pondere ut sint duae partes olei et tertia gummi. Cumque ad libitum tuum coxeris diligenter, ab igne removens et discoperiens, refrigerari sine.


Put some linseed oil into a small new jar, and add some of the gum which is called fornis [varnish], very finely powdered, which has the appearance of the most transparent frankincence, but when it is broken it gives back a more brilliant luster; which, when you have placed over the coals, cook carefully so that it may not boil, until a third part is evaporated; and guard from the winds because it is dangerous to extinguish if it takes fire from the top. Every picture smeared over with this glaze becomes clear and beautiful and in every way durable. Set up four or three stones which are able to stand the fire so that they lean apart; on these place a common pipkin, and in this put the above mentioned portion of the gum fornis, which called Roman glassa [amber], and over the mouth of this pot set a smaller pipkin which has in the bottom a middling-size hole. And around these put luting so that nothing may get out of the crevice between the pots. You should have, moreover, a slender iron rod set in a handle with which you may stir this mass of gum, with which you may feel that it is entirely liquid. You must have also a third pot set over the coals, in which is hot oil, and when the interior of the gum has become liquid, so that with the end of the rod it may be drawn out like a thread, pour into it the hot oil and stir it with the iron rod, and at the same time cook it so that it may not boil, and from time to time draw out the rod and smear it properly over a piece of wood or stone, that you may fine out if there is a separation; and see to this that in weight there be two parts of oil and the third of gum. And when, in your judgment, you hav cooked it thoroughly, removing it from the fire and uncovering it, cool it out of doors.


The earliest important treatise on technology (of the Middle Ages in Europe) was written in the 11th or 12th century by Theophilus Presbyter, a Swiss or German monk. This is the first definite account of the preparation of varnish made from oil and resin. The oldest known copy of this document is in the collection of the British Museum (Egerton MS., 840a).


Image of the original document
Courtesy of The Strad Magazine


From the Ground up

Violin Varnish Ltd.


From the Ground up

There are many approaches, in both materials and artistry, to varnishing a violin.
The following is not a “method”. It is an illustration of compatible materials available from
Violin Varnish Ltd.


Varnishing a Violin: The order of application.


Polished White Instrument


White wood dry burnished after final surface is developed.


Balsam Ground


Balsam Ground system applied.
Instrument is sealed and ready for color.


Golden Undercoat


Varnish applied: Baltic Amber Golden Brown.
One coat.


Brown/Orange Color Coat


Varnish applied: Dark Rosin Violin Varnish mixed with
Alizarin Orange Color Concnetrate and Alizarin Purple Color Concentrate.
One Coat.


Dark Varnish Top Coat

  Varnish applied: Pine Resin Sandarac Mastic Violin Varnish.
Two coats.


Balsam Ground System

Violin Varnish Ltd.

Balsam Ground System

Prepare the instrument for varnishing


Aged Wood Color


The Balsam Ground System


Applying the Balsam Ground System


Aged Wood Colors + Balsam Ground: A Working Method


Home
Site Map

Aged Wood Colors + Balsam Ground System

Violin Varnish Ltd.

Aged Wood Colors + Balsam Ground System


A Working Method

This method combines the Aged Wood Color and Balsam Ground to make a deeply reflective gold/brown base for varnishing. Proportions of color and wood preparations should be varied according to the color of the wood.

Apply a coat of alcohol to the spruce.

Beginning with the spruce, apply Wood Preparation #1 to the entire instrument.

Apply Red Brown and/or Grey Green to entire instrument. Repeat as desired. This phase promotes contrast in the wood colors.

Apply Wood Preparation #1 to the entire instrument. Repeat as desired.

Mix Wood Preparation #2 + Aged Wood Color: Gold + Aged Wood Color Green/Gray. [I use mostly Gold + a bit of Gray/Green 1:1 with Wood Prep. #2] Solve this mixture in an equal amount of alcohol. Apply thin coats of the mixture to the entire instrument as you would spirit varnish. Work carefully but it is not as critical a process as spirit varnishing so minor overlapping is not an issue. Allow surface to dry between applications. Repeat as desired.

Apply Wood Preparation #2 to the entire instrument. Repeat as desired.

Allow the surface to dry. [I usually let the alcohol soluble materials dry overnight…in or out of the light box.] When the color is correct and dry, the surface should be cleaned of any material which stands above the level of the grain. This material will show as shiny areas. Use cheesecloth just dampened with alcohol. When finished the instrument surface will look uniform and appear to be just wood, not coated wood.

Mix Wood Preparation #3 + Aged Wood Color Gold. Solve this mixture in an equal amount of turpentine. Apply thin coats of the mixture to the entire instrument as you would spirit varnish. Work carefully but it is not as critical a process as spirit varnishing. Repeat as desired. [Note: These two procedures will create a gold brown color in the wood which retains the natural contrasts of the wood. That is it will look like wood, not colored wood. With some woods there will be an unfamiliar bright yellow green cast to the wood. This will quickly disappear as the material is absorbed and dries.]

Apply Wood Preparation #3 to the entire instrument.Repeat as desired.

Mix Wood Preparation #4 + Aged Wood Color Gold. [I use about the same proportions as previous.] Solve this material in an equal amount of turpentine. Apply a thin coat of the mixture to the entire instrument as you would spirit varnish. Work carefully but it is not as critical a process as spirit varnishing. [I do this once.]

Apply Wood Preparation #4 to the entire instrument. Repeat as desired.

Allow the surface to dry. . [I usually let the turpentine soluble materials dry overnight…in or out of the light box, but in the light box is better.] When dry, the surface should be cleaned of any material which stands above the level of the grain. This material will show as shiny areas. Use cheesecloth just dampened with turpentine. When finished the instrument surface will look uniform and appear to be just wood, not coated wood.

Apply a very thin coat of Balsam Ground Varnish. [Thin the Balsam Ground Varnish 2 parts Turpentine to 1 part Balsam Ground Varnish.] Allow to dry

The instrument is now sealed and ready for varnishing.


Balsam Ground Application


Violin Varnish Ltd.
Balsam Ground Application

Using the Balsam Ground System

A series of applications infuses the wood with the products of aging. The successive applications combine with the wood and catalyze one another. This hardens and stabilizes the wood. The final coating is Balsam Ground Varnish which also acts to harden the previous applications. Since the Balsam Ground Varnish is a linseed oil varnish it also adds protection and polishability.


First


Before applying the First Wood Preparation, throughly wet the surface with alcohol. (This is more important with the spruce than the maple.)
Brush on the First Solution and allow it to absorb. Repeat this process one or more times until the color develops. (For less contrast in the wood’s coloring apply alcohol alternating with the First Solution).


Second


Put a container of the Second Wood Preparation in a dish of hot water to reduce viscosity. Apply Second Wood Preparation to the entire instrument. Allow this coating to sit on the instrument about one hour. Then, brush the surface with alcohol and, using a cloth dampened in alcohol, rub off and rub in the Second Wood Preparation. Repeat this process at least once more. Allow the surface to dry, then buff with a soft cloth.


Third


Put a container of Third Wood Proparation in a dish of hot water to reduce the viscosity. Apply the Third Wood Preparation to the entire instrument. Allow this coating to sit on the wood about one hour. Then brush the surface with turpentineand, using a soft cloth dampened with turpentine, rub off (and rub in) the Third Wood Preparation Repeat this process once more. Allow the surface to dry, then buff with a soft cloth.


Fourth

Apply Fourth Wood Preparation to entire instrument. Allow this coating to sit on the surface about one hour. Then brush the surface with turpentine and, using a cloth dampened with turpentine, rub off (and rub in) the Fourth Wood Preparation


Balsam Ground Varnish


Thin Balsam Ground Varnish with turpentine. (2 parts turpentine to 1 part varnish). Brush on to entire instrument. Allow varnish to absorb about 10 minutes. Brush enire instrument a second time. Allow to dry. Buff.


Basic Instructions