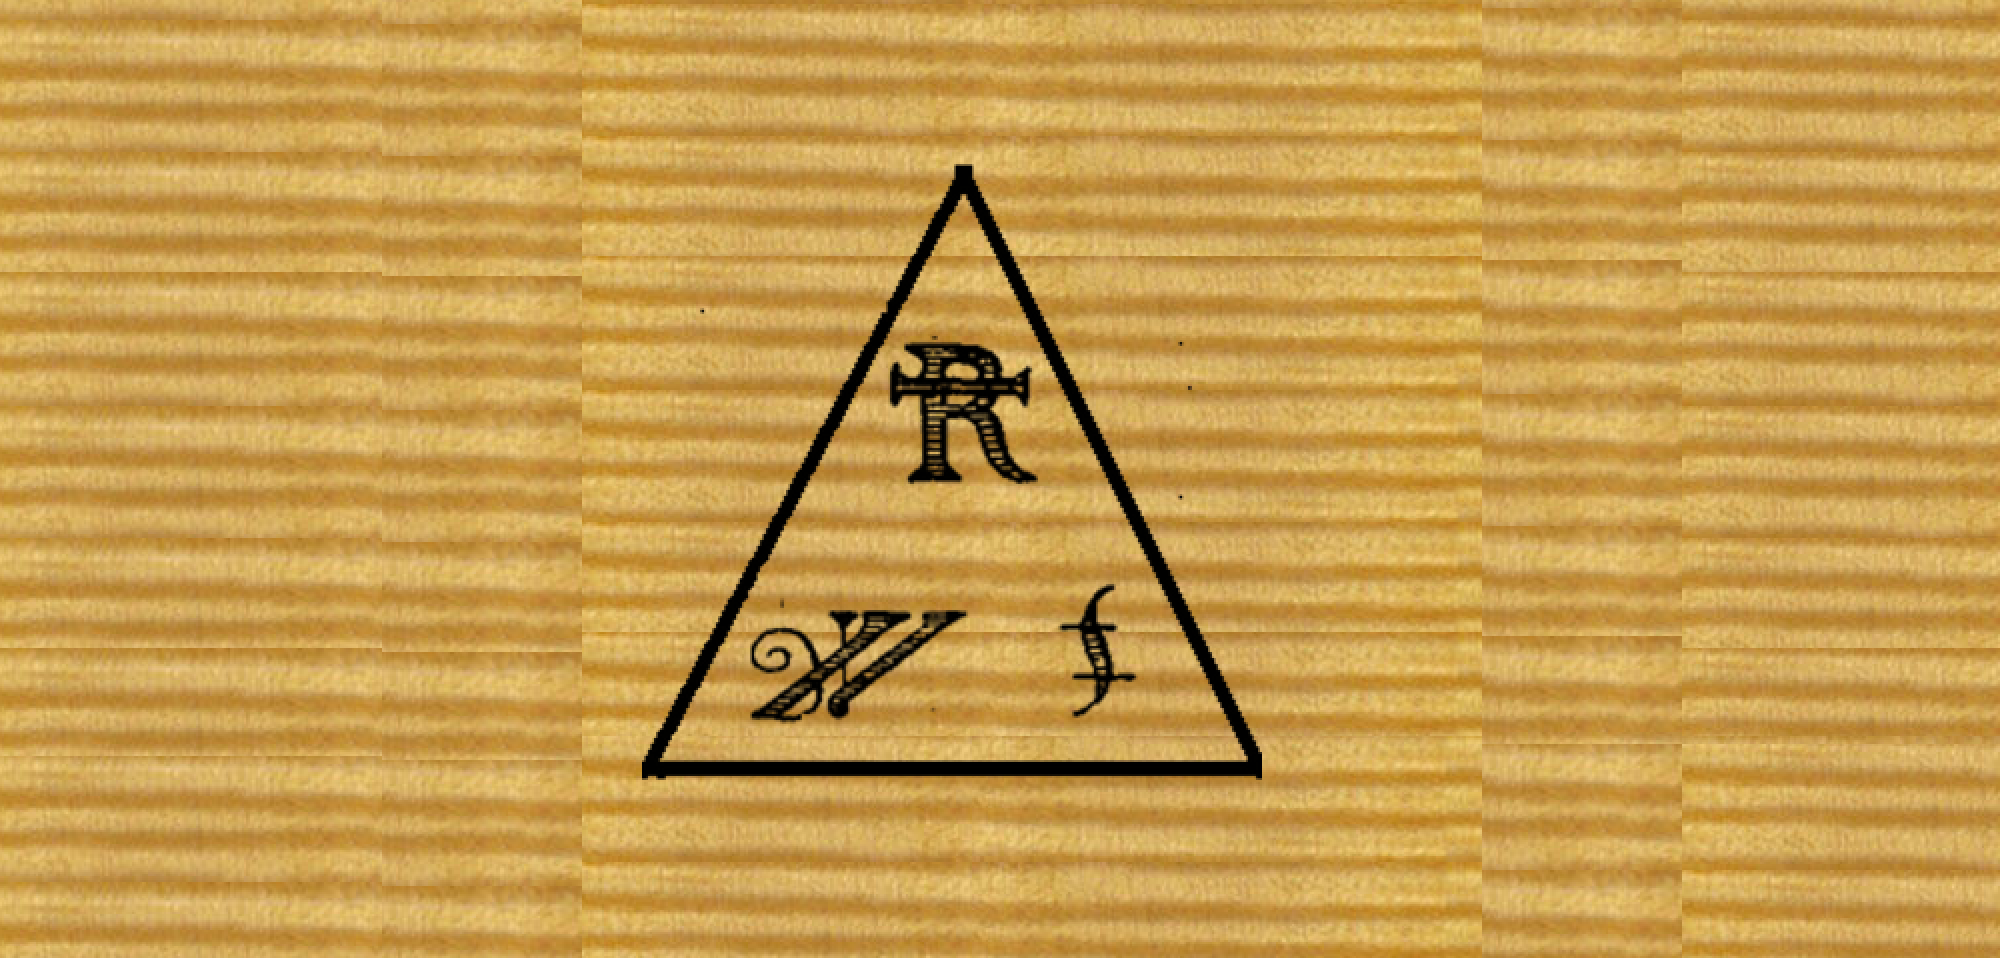
How to make varnish

Violin Varnish Ltd.


How to make varnish


“Schedula Diversarum Artium”
of Theophilus Presbyter
Circa 1200 AD


Pone oleum in novam parvulam et adde gummi quod vocatur fornis, minutissime tritum, quod habet speciem lucidissimi thuris, sed cum frangitur fulgorem clariorem reddit; quod cum super carbones coque diligenter sic ut non bulliat, donec tertia pars consumatur; et cave a flamina, quod periculosum est nimis, et difficile extingguitur si accendatur. Hoc glutine omnis picture super linita fit decorra acomnino durabilis. Compone quatuor vel tres lapides qui possent ignem sustinere ita ut resilient et wuper ipsos pone ollam rudem, et in eam mitte supradictum gummi fortis, quod Romana glassa vocatur, et super os hujus ollae pone ollam minorem, quae habeat in fundo modicum formen. Et circumlineas ei pastam, ita ut nihil spiraminis inter ipsos ollas exeat. Habebis etiam ferrum gracile manubrio impositum, unde commovebis ipsum gummi, et cum quo sentire possis ut omnino liquidum fiat. Habebis quoque ollam teriam super carbones positam, in qua sit oleum calidum, et cum gummi pentus liquidum fuerit, ita ut extreme ferro quasi filum trahitur, infunde ei oleum calidum, et ferro commove, et insimul coque ut non bulliat, et interdum extrahe ferrum et lini modice super lignum sive super lapidem, ut probes diversitatem ejus; et hoc caveas in pondere ut sint duae partes olei et tertia gummi. Cumque ad libitum tuum coxeris diligenter, ab igne removens et discoperiens, refrigerari sine.


Put some linseed oil into a small new jar, and add some of the gum which is called fornis [varnish], very finely powdered, which has the appearance of the most transparent frankincence, but when it is broken it gives back a more brilliant luster; which, when you have placed over the coals, cook carefully so that it may not boil, until a third part is evaporated; and guard from the winds because it is dangerous to extinguish if it takes fire from the top. Every picture smeared over with this glaze becomes clear and beautiful and in every way durable. Set up four or three stones which are able to stand the fire so that they lean apart; on these place a common pipkin, and in this put the above mentioned portion of the gum fornis, which called Roman glassa [amber], and over the mouth of this pot set a smaller pipkin which has in the bottom a middling-size hole. And around these put luting so that nothing may get out of the crevice between the pots. You should have, moreover, a slender iron rod set in a handle with which you may stir this mass of gum, with which you may feel that it is entirely liquid. You must have also a third pot set over the coals, in which is hot oil, and when the interior of the gum has become liquid, so that with the end of the rod it may be drawn out like a thread, pour into it the hot oil and stir it with the iron rod, and at the same time cook it so that it may not boil, and from time to time draw out the rod and smear it properly over a piece of wood or stone, that you may fine out if there is a separation; and see to this that in weight there be two parts of oil and the third of gum. And when, in your judgment, you hav cooked it thoroughly, removing it from the fire and uncovering it, cool it out of doors.


The earliest important treatise on technology (of the Middle Ages in Europe) was written in the 11th or 12th century by Theophilus Presbyter, a Swiss or German monk. This is the first definite account of the preparation of varnish made from oil and resin. The oldest known copy of this document is in the collection of the British Museum (Egerton MS., 840a).


Image of the original document
Courtesy of The Strad Magazine


From the Ground up

Violin Varnish Ltd.


From the Ground up

There are many approaches, in both materials and artistry, to varnishing a violin.
The following is not a “method”. It is an illustration of compatible materials available from
Violin Varnish Ltd.


Varnishing a Violin: The order of application.


Polished White Instrument


White wood dry burnished after final surface is developed.


Balsam Ground


Balsam Ground system applied.
Instrument is sealed and ready for color.


Golden Undercoat


Varnish applied: Baltic Amber Golden Brown.
One coat.


Brown/Orange Color Coat


Varnish applied: Dark Rosin Violin Varnish mixed with
Alizarin Orange Color Concnetrate and Alizarin Purple Color Concentrate.
One Coat.


Dark Varnish Top Coat

  Varnish applied: Pine Resin Sandarac Mastic Violin Varnish.
Two coats.


Violin Varnish Workshops

Violin Varnish Workshops

“Practical and Aesthetic Violin Varnishing”

Understanding the materials: Ground, Color, and Varnish

and how to use them to create your varnish.


Workshop conducted by:

Joe Robson

Marilyn Wallin

Roman Barnas

The workshop will focus on application.
Understanding the components and interaction of Ground, Color, and Varnish will be addressed as we varnish.
Particpants must bring an instrument [violin or viola] ready for varnishing.
Each of the directors will varnish a violin during the workshop.
Matching the maker’s vision of the finished instrument to the correct materials and application techniques allows varnishing to be an intentional and controlled part of violinmaking.

Violin Varnish Workshops: 2011

Home
Site Map

“Practical and Aesthetic Violin Varnishing”

Understanding the materials: Ground, Color, and Varnish

and how to use them to create your varnish.


Workshop conducted by:


Joe Robson

Marilyn Wallin

Roman Barnas


The workshop will focus on application.
Understanding the components and interaction of Ground, Color, and Varnish will be addressed as we varnish.
Particpants must bring an instrument [violin or viola] ready for varnishing.
Each of the directors will varnish a violin during the workshop.
Matching the maker’s vision of the finished instrument to the correct materials and application techniques allows varnishing to be an intentional and controlled part of violinmaking.

Violin Varnish Workshops: 2011

Home
Site Map

Balsam Ground System

Violin Varnish Ltd.

Balsam Ground System

Prepare the instrument for varnishing


Aged Wood Color


The Balsam Ground System


Applying the Balsam Ground System


Aged Wood Colors + Balsam Ground: A Working Method


Home
Site Map

Aged Wood Colors + Balsam Ground System

Violin Varnish Ltd.

Aged Wood Colors + Balsam Ground System


A Working Method

This method combines the Aged Wood Color and Balsam Ground to make a deeply reflective gold/brown base for varnishing. Proportions of color and wood preparations should be varied according to the color of the wood.

Apply a coat of alcohol to the spruce.

Beginning with the spruce, apply Wood Preparation #1 to the entire instrument.

Apply Red Brown and/or Grey Green to entire instrument. Repeat as desired. This phase promotes contrast in the wood colors.

Apply Wood Preparation #1 to the entire instrument. Repeat as desired.

Mix Wood Preparation #2 + Aged Wood Color: Gold + Aged Wood Color Green/Gray. [I use mostly Gold + a bit of Gray/Green 1:1 with Wood Prep. #2] Solve this mixture in an equal amount of alcohol. Apply thin coats of the mixture to the entire instrument as you would spirit varnish. Work carefully but it is not as critical a process as spirit varnishing so minor overlapping is not an issue. Allow surface to dry between applications. Repeat as desired.

Apply Wood Preparation #2 to the entire instrument. Repeat as desired.

Allow the surface to dry. [I usually let the alcohol soluble materials dry overnight…in or out of the light box.] When the color is correct and dry, the surface should be cleaned of any material which stands above the level of the grain. This material will show as shiny areas. Use cheesecloth just dampened with alcohol. When finished the instrument surface will look uniform and appear to be just wood, not coated wood.

Mix Wood Preparation #3 + Aged Wood Color Gold. Solve this mixture in an equal amount of turpentine. Apply thin coats of the mixture to the entire instrument as you would spirit varnish. Work carefully but it is not as critical a process as spirit varnishing. Repeat as desired. [Note: These two procedures will create a gold brown color in the wood which retains the natural contrasts of the wood. That is it will look like wood, not colored wood. With some woods there will be an unfamiliar bright yellow green cast to the wood. This will quickly disappear as the material is absorbed and dries.]

Apply Wood Preparation #3 to the entire instrument.Repeat as desired.

Mix Wood Preparation #4 + Aged Wood Color Gold. [I use about the same proportions as previous.] Solve this material in an equal amount of turpentine. Apply a thin coat of the mixture to the entire instrument as you would spirit varnish. Work carefully but it is not as critical a process as spirit varnishing. [I do this once.]

Apply Wood Preparation #4 to the entire instrument. Repeat as desired.

Allow the surface to dry. . [I usually let the turpentine soluble materials dry overnight…in or out of the light box, but in the light box is better.] When dry, the surface should be cleaned of any material which stands above the level of the grain. This material will show as shiny areas. Use cheesecloth just dampened with turpentine. When finished the instrument surface will look uniform and appear to be just wood, not coated wood.

Apply a very thin coat of Balsam Ground Varnish. [Thin the Balsam Ground Varnish 2 parts Turpentine to 1 part Balsam Ground Varnish.] Allow to dry

The instrument is now sealed and ready for varnishing.


Balsam Ground Application


Violin Varnish Ltd.
Balsam Ground Application

Using the Balsam Ground System

A series of applications infuses the wood with the products of aging. The successive applications combine with the wood and catalyze one another. This hardens and stabilizes the wood. The final coating is Balsam Ground Varnish which also acts to harden the previous applications. Since the Balsam Ground Varnish is a linseed oil varnish it also adds protection and polishability.


First


Before applying the First Wood Preparation, throughly wet the surface with alcohol. (This is more important with the spruce than the maple.)
Brush on the First Solution and allow it to absorb. Repeat this process one or more times until the color develops. (For less contrast in the wood’s coloring apply alcohol alternating with the First Solution).


Second


Put a container of the Second Wood Preparation in a dish of hot water to reduce viscosity. Apply Second Wood Preparation to the entire instrument. Allow this coating to sit on the instrument about one hour. Then, brush the surface with alcohol and, using a cloth dampened in alcohol, rub off and rub in the Second Wood Preparation. Repeat this process at least once more. Allow the surface to dry, then buff with a soft cloth.


Third


Put a container of Third Wood Proparation in a dish of hot water to reduce the viscosity. Apply the Third Wood Preparation to the entire instrument. Allow this coating to sit on the wood about one hour. Then brush the surface with turpentineand, using a soft cloth dampened with turpentine, rub off (and rub in) the Third Wood Preparation Repeat this process once more. Allow the surface to dry, then buff with a soft cloth.


Fourth

Apply Fourth Wood Preparation to entire instrument. Allow this coating to sit on the surface about one hour. Then brush the surface with turpentine and, using a cloth dampened with turpentine, rub off (and rub in) the Fourth Wood Preparation


Balsam Ground Varnish


Thin Balsam Ground Varnish with turpentine. (2 parts turpentine to 1 part varnish). Brush on to entire instrument. Allow varnish to absorb about 10 minutes. Brush enire instrument a second time. Allow to dry. Buff.


Basic Instructions


Balsam Ground


Violin Varnish Ltd.
Balsam Ground


The Balsam Ground System

Protects

the raw surface by changing the way the wood reacts with ambient moisture. It provides surface protection with a polishable sheen which has little or no film thickness.

Enhances
the deep natural translucence of the polished wood providing a radiance and clarity of detail which can be seen at any angle. The illuminated subsurface remains clearly observable under the varnish.

Deepens
the color of the wood, rather than coloring the wood fiber. The Balsam Ground brings out the golden tones of the wood and preserves the natural contrasts of the wood’s own color.

Seals
the instrument for varnishing, without filling the pores or chemically altering or degrading the wood structure.

Balsam Ground Solutions and Balsam Ground Varnish
are made from the oleoresins which naturally occur in Pine, Spruce, and Larch trees and are produced in large quantites to protect the tree when it is wounded. As the tree dies and is cut and dried for use, the aging process creates both physical and chemical changes in the wood. If the products of aging are separated from the process of aging they can be used to enhance the structure and appearance of tonewoods in a manner similar to aging but intensified to give the properties desirable in a good varnish ground. A series of applications of balsam extracts infuses the wood with these products of aging. The successive applications combine with the wood and catalyze one another. This hardens and stabalizes the wood. The final application is Balsam Ground Varnish which also acts to harden the previously applied oleoresin solutions. Since the Balsam Ground Varnish is a coodked linseed oil varnish, it also adds protection and polishability.


Balsam Ground Color Range

Top

Back

Balsam Ground Application


Home  Site Map

Aged Wood Colors: Wood Color under the Varnish

Aged Wood Colors

Wood Color under the Varnish

Color the wood with control

For aesthetic and commercial reasons it is often necessary to give a dark look to the wood in order to support the varnish color of an antique or antiqued instrument.

These colors must be accurate but not over stated. They must be fixed in the wood without obscuring the grain or reflectivity. They must be reasonably light fast, but not completely so that the natural long term color changes can occur in the wood under the varnish.

Wood color is effected by UV and visible light [particularly the blue and purple spectrum], creating a gold/brown coloration. Therefore: The wood changes color under the varnish as the instrument ages. The current method of using “wet chemistry” [application of potassium nitrite, sodium nitrite, ammonia, nitric acid as a result of ozone exposure] on the wood surface to reproduce these colors has certain drawbacks:

The color fades.
There is a definite lack of control in creating the color.
It appears that these treatments block some of the long term color changes that are created by visible light as it passes through the varnish.
 

The method.

Introduce colors into the wood which would occur naturally as the result of UV and visible light exposure, but in concentrations which give the look of aged wood to the new surface.

The colors used are complex vegetable extracts which mimic or are the same as the colorants produced in the wood by age and exposure to light. All colors are alcohol tinctures but they are also moderately turpentine soluble.

The colors are introduced into the wood using a dye method common to the traditional treatment of cotton cloth known as “mordant-color-mordant”. Rather than chemical transformation of the color body by exposure to metallic compounds the mordant [a bark extract] in this method fixes the color in the wood directly. [The ancient meaning of the word mordant is “to bite”.] Since the tinctures are alcohol and turpentine soluble they can be used in conjunction with the components of the Balsam Ground System or they can be applied directly to the wood.

The result:

Wood color under the varnish is chosen and controled by the maker.